
This is another new rack design for me. I would first like to thank Gus at Rio Bravo Reptiles for posting the plans for his design using these doors. His plans, which use a different size tub can be seen here: http://www.riobravoreptiles.com/howto_easyrack.htm
I do not know if Gus originated this design, but his site was the first place I encountered it.
This rack uses Sterilite 1960 41 quart boxes. I initially intended to use Iris CB-70 tubs in this rack, but after exhaustive searching I realized there are none of those boxes to be found near me. Time was critical and I could not wait to have them shipped so I elected to go with the sterilites.
I will be buying a number of extras to allow for the future design change or discontinuation of this size tub. Experience shows this is more likely than not to happen, so buy extras to begin with and ensure you will get maximum use of your rack.
- Material List
- (5) 36" x 80" Hollow core doors (Undrilled blanks)
- (2) 10' 2x4 straight and of good quality
- (1) 4 X 8 sheets of 1/4" pegboard
- (4) swivel casters of your choice
- 10 feet of 11" wide flexwatt (11 feet if heating all slots)
- 10 extension cords (11 cords if heating all slots)
- (11) Sterilite 1960 41qt boxes
- 2 1/2" wood screws
- 1" wood screws
- Wood glue
** You will also need two scrap pieces 36" x 5 3/4" for shelf spacing.
The total cost of the materials for one rack comes in at $250 as per my local prices. That's the total cost for everything, tubs, heat, and materials. The only additional cost would be your thermostat of choice.
That comes to around $25 per slot.
Construction of the rack
First you will need to cut out your shelves. Each shelf will be 36" deep and 18" wide. Take three of your doors and cut them each into four 18"x36" pieces. When making the last cut on each door flip the piece over to retain the factory end. This will save you from cutting an extra filler piece.
If possible, I recommend enlisting a helper at this point. Managing the 80" door on a table saw is a little difficult. You can always use a circular saw with the door on saw horses however. You will end up with 12 shelves 36"x18".
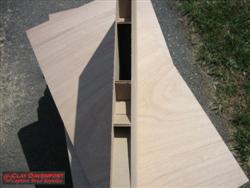
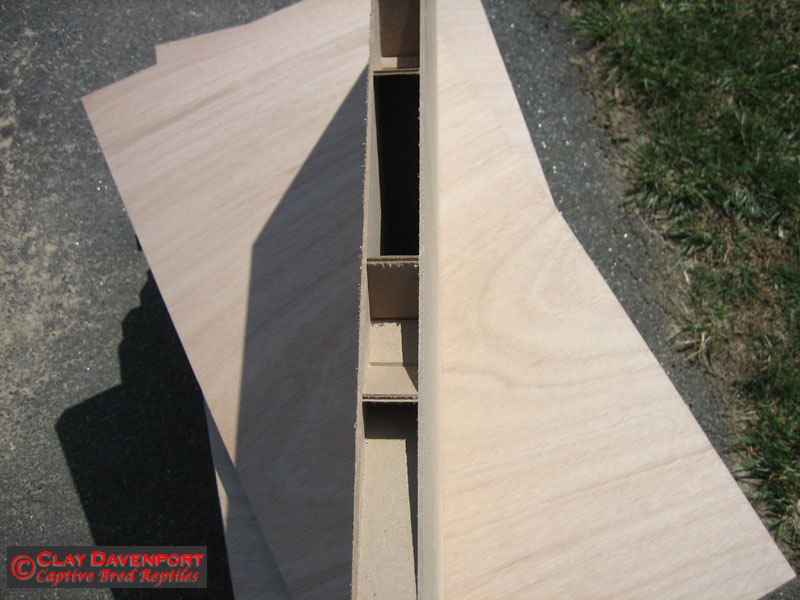
You can see in the above picture the inside of the doors. What you see is a cardboard material which makes the "hollow core" part of the door. Take any hand tool and punch this material back into each piece about 2" to make room for the filler pieces you will install to add rigidity to the cut doors.
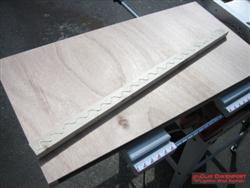
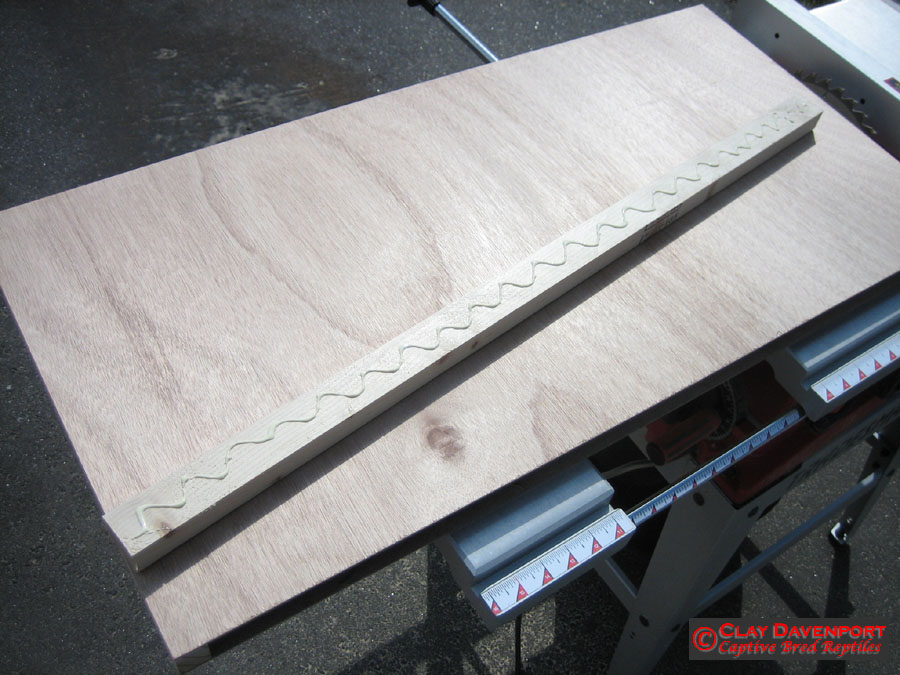
To make the filler pieces you'll rip down the 10' 2x4s to the appropriate thickness. I recommend using a scrap piece to get a good test fit with. Once you get the test piece to fit tightly in the space without causing the door to bulge, lock the saw down and rip the 2x4s.
It will be easier to rip if you first cut each 2x4 into three equal lengths. Feeding a 10 foot board into a table saw can be difficult to maintain a straight cut.
You will get three filler pieces out of each section of 2x4. This means you will get 9 total from each full board. In order to get the third strip from the 2x4 however, you will have to turn the last piece 90 degrees, so it will not go quite as deep into the door as the others.
That may sound confusing, but you'll see exactly what I mean when you get to the last rip on each piece.
Once you get the 18 pieces cut to the correct thickness you can cut them to length and install them.
Cut the strips one at a time, because they will not all be the same length. measure the length of the opening in the door and cut one of the strips to that length. Then apply some wood glue to each side of the strip and tap it into place in the end of the shelf so that it is flush with the edges.
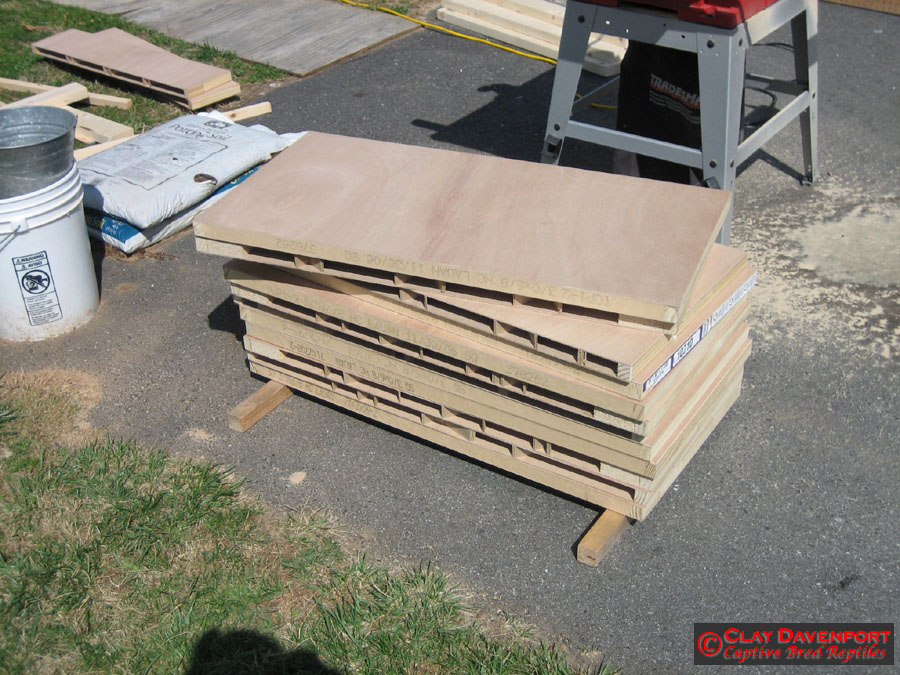
As you install the filler strips you will either need to clamp the doors or use a heavy weight to make them tight. In the following photo you will see how I managed it since I did not have an adequate number of clamps available.

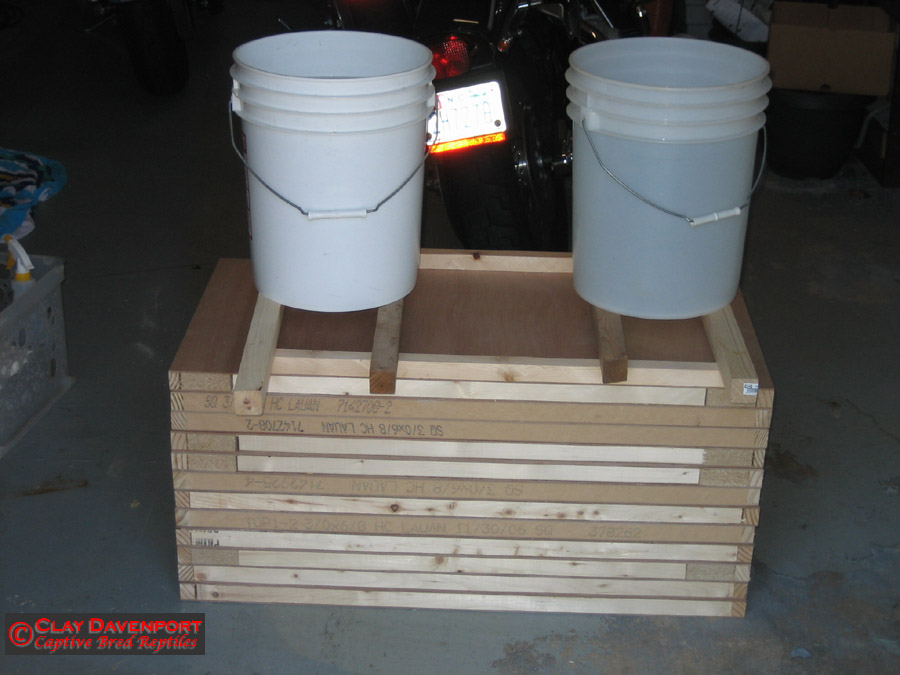
I used two 5 gallon buckets filled with water for a total of around 80 pounds. You can see I used some scrap 2x2s to distribute the weight over the glued ends and not the middle of the door. One 2x2 was placed over each edge, then four more were laid perpendicular to these to support the two buckets.
I built the stack a couple of shelves at a time and removed the buckets to add the next two just to be sure the glue didn't start to dry before I got them under pressure.
I left them like this for about 3 hours.
After your filler pieces are dry, you should make the shelves a bit more water resistant. This step needs to be done before assembly due to the depth of the finished rack.
The part of the rack which most needs to be sealed is the underside of each shelf, however you can go ahead and seal the entire interior as well if you wish. A couple of coats of polyurethane will do the trick. Alternatively you can laminate the underside of the shelves with polyvinyl film, or cover them with linoleum, which ever process is best for you.
Once your waterproofing of choice is dry, it's time to begin assembling the rack. Your two remaining uncut doors will make the sides of the rack. I realize that an 80" rack may be taller than many people would like. I will include cut measurements at the end of the page for those who would like to make one shorter.
In the following picture you can see how I set up to install the first shelf. This one will ultimately be the top of the rack.
Lay one shelf flat on the floor between the two side pieces. This shelf will keep the proper spacing between the sides and make it easier to secure the first shelf. An extra set of hands is helpful to get you started here as well.
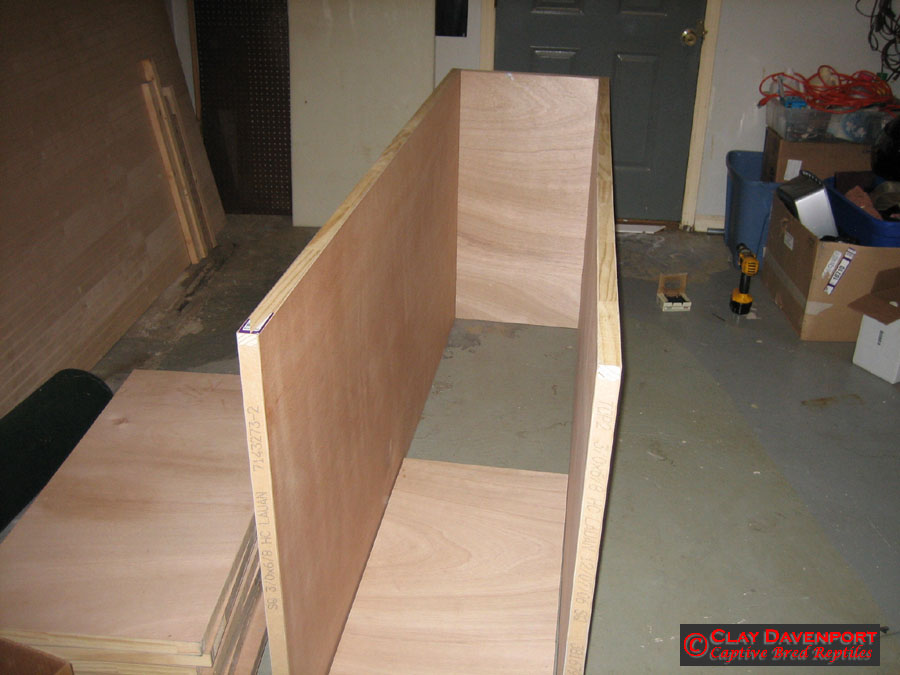
When attaching the shelves to the sides, you will only be using two screws on each side, one on each corner. The hollow core doors have nothing in the middle to support a screw being placed there. The filler strips will add the rigidity needed to prevent sagging however.
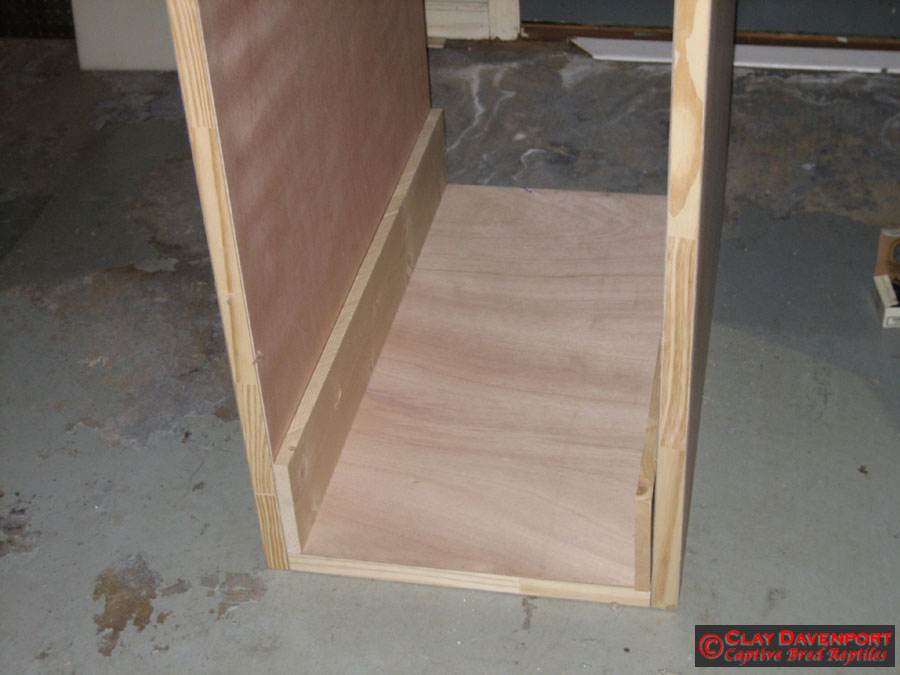
Once you have the first shelf installed carefully sit the rack upright so that the piece you just installed is flat on the floor. You will need two 36" long spacers to install the remaining shelves.
Cut these spacers 5 3/4" wide. This will allow approximately 3/16" gap between each box and the shelf above it to prevent binding.
You can always use one of the boxes with something under it as a spacer, but this method is the most exact and will provide uniform results.
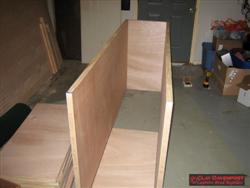
Below you can see the placement of the spacer between the shelves, and the rack with half the shelves installed.


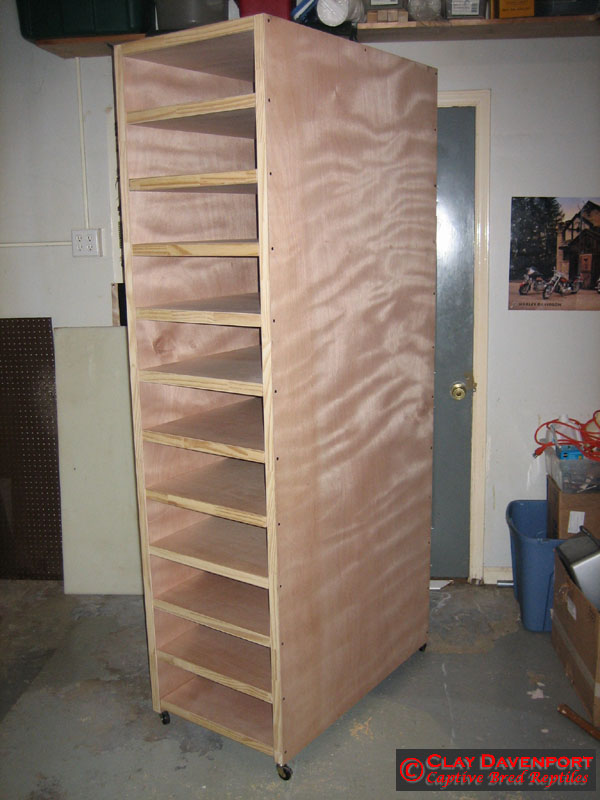
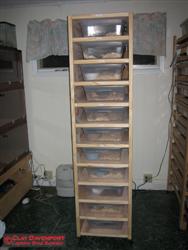
Continue installing the shelves until you have all 12 in place. Next lay the rack down on it's back and install the wheels. I used the same type wheels used on my rat rack, which you can see here: http://www.arbreptiles.com/cages/rat_rack.html
You will end up with something that should look like this.


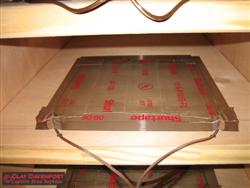
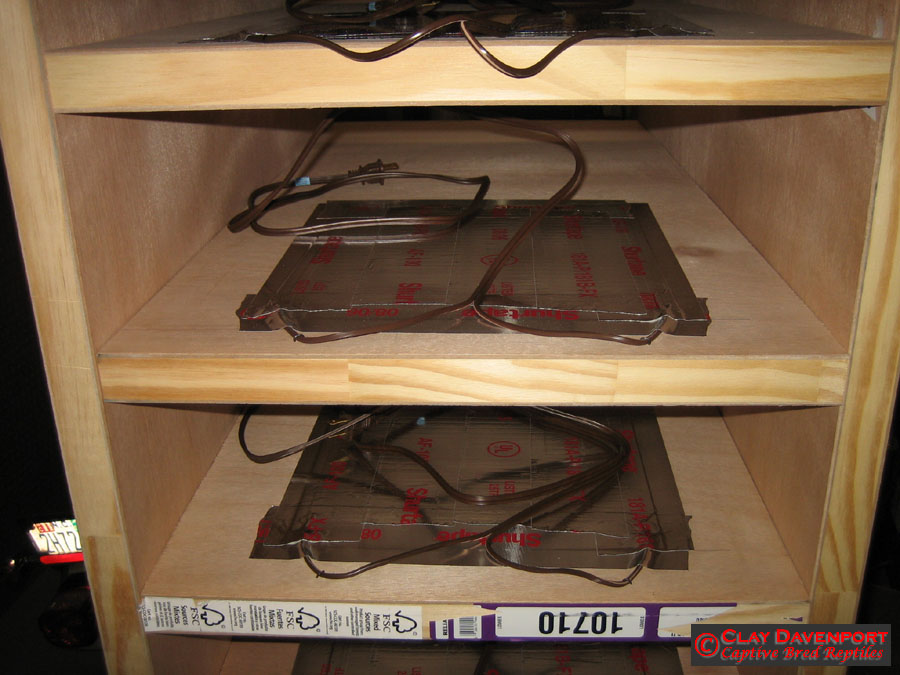
Next we'll install the heaters. Due to the depth of the rack, you have to put them in prior to putting the back on. I used 1 foot of 11" wide flexwatt per level set in 2 1/2" from the back edge of the shelf.
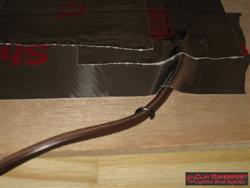
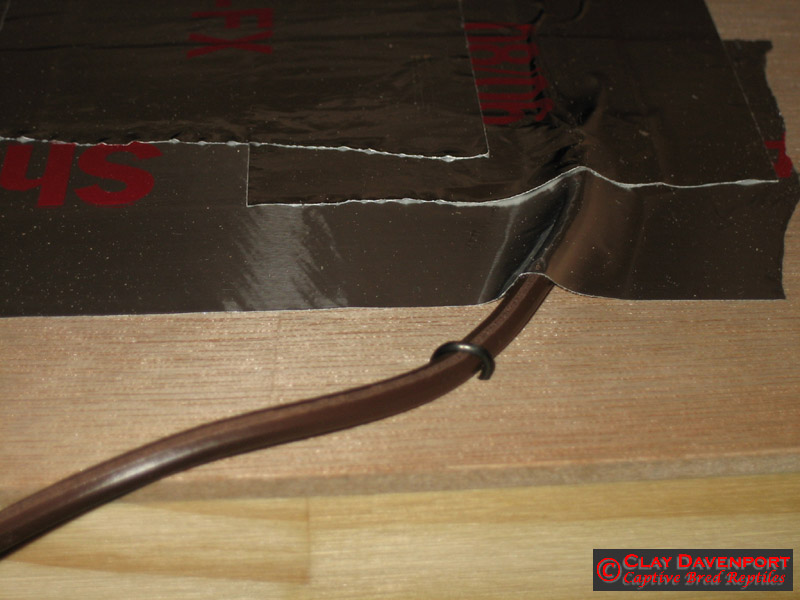
You'll see that I covered the entire piece of flexwatt on each shelf with foil tape. This will protect the heater from wear from the tub being slid over it. Once the heater was secured, I used a staple on each wire to hold it firmly in place.
I also only listed 10 feet of flexwatt on the materials list, but there are 11 slots in the rack. I didn't heat the bottom shelf on mine, I use it for storage. The floor of my snake room is concrete and I don't want a tub that close to the floor. Your situation may be different and that bottom shelf might not be significantly cooler. In that case you'll want to get 11 feet of flexwatt instead and utilize that last shelf as well.

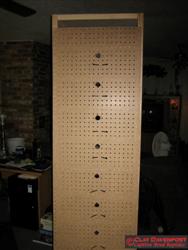
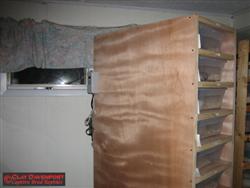
Next you'll be putting the back on the rack. I used 1/4" pegboard for mine. The pegboard allows for additional ventilation through the rack and also provides ready made places to secure the wiring with cable ties.
Measure the back of your rack, and cut a piece of pegboard about 1/2" shorter and narrower than the measurements. Once the back is centered on the rack this will give a 1/4" inset all the way around to make sure the back doesn't hang over anywhere.
When taking your measurements, measure the height from the top edge of the rack to the bottom edge of the lower shelf, not the bottom of the side pieces. This way you'll have something to screw the lower edge of the back to.
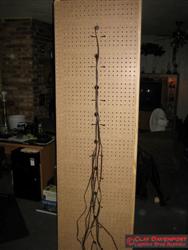
Once you get the back cut, put all the wiring up on the shelves of the rack. Center the back piece where you want it and put two screws in the top to hold it there.
Now using either a hole saw or a spade bit, cut the holes for the extension cords to go through.
You'll cut them in the center of the back just above each shelf. When you have your holes cut, take the back off again and put a cable tie through the holes in the pegboard under each hole as shown in the picture below.

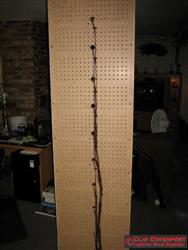
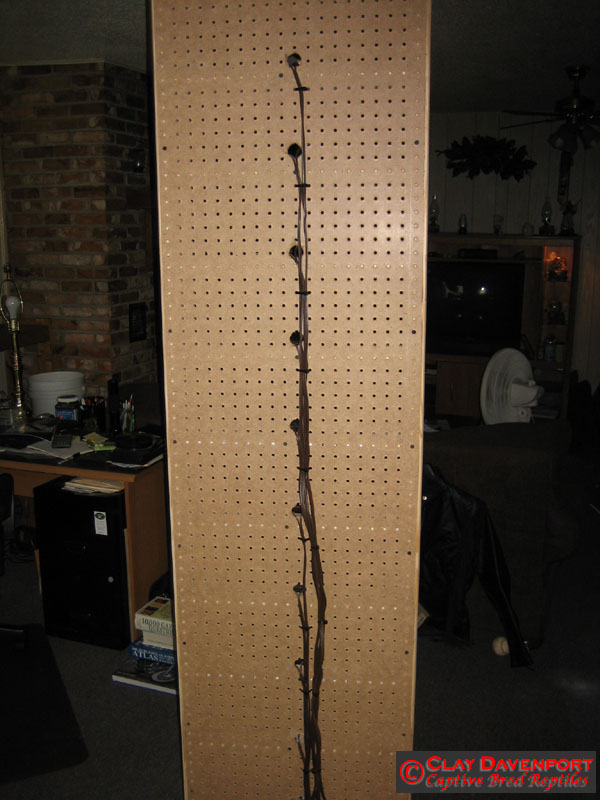
Now you'll secure the back to the rack. You will need to thread the extension cords through the holes as you put the back on. Attach the back using 1" wood screws through the holes in the pegboard.
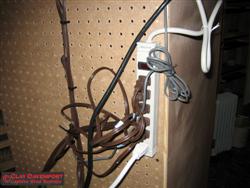
When the back is on, secure each cord with the cable tie below the hole it comes out of. Using a permanent magic marker, number each cord according to the shelf it is from. I started with the top slot as the number 1 tub. This will make it much easier later should you want to unplug the heater from some of the racks while still using the others.
I also used cable ties to tie the cords together to make it neater. I bundled the top 5 slots together and then the bottom 5 together.

If you've seen some of my other racks you know that I usually wire all the heaters together and run the rack from one plug. I started to wire this one that way but then decided I wanted the flexibility of having the heaters independently powered. It's a large rack and I don't know how it might be used in the future. I might be housing different species in part of it that need to be kept at a different temperature, or I might have part of the rack not in use at all at some point. The cords are cheap and the added flexibility of having each on it's own plug was worth the extra $11 or so.
Also due to the height of the rack, it will be better in some situations to use two thermostats to control the heat, having the top half on one with the bottom half on the other. That is why I bundled the cords in two groups.
I have this rack on a Ranco thermostat. You can sit two or three of these racks side by side and control the top half of all of them with one Ranco and the bottom half with another and have efficient use of the thermostats.


In the above pictures you can see the strip outlet wired to the Ranco thermostat and the placement of the thermostat itself. I also added a second strip outlet lower down on the rack to plug the lower 5 tubs into. When additional racks are added to the series, the lower strip will be replaced with another Ranco and this rack will be the end one allowing access to the thermostats.
And here is a picture of the finished rack in use.
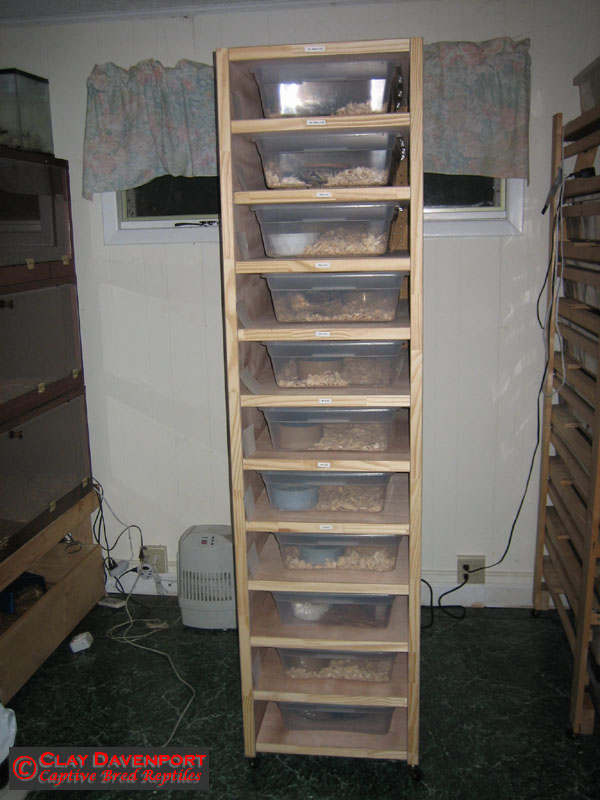
Concerning the height of this rack, I know a lot of people will not want a rack this tall. I'm 6 feet and I have to have a step stool to see in the top two levels. I don't mind this, but for the ones of you who are shorter, or just prefer a rack you can access fully while standing on the floor, I will provide the side measurements for a couple of different variations. These will be built the exact same way, but you will just cut the side pieces to these lengths, and you will need two additional filler strips to fill the bottom edges where they were cut. You'll also need fewer shelves depending on the height you choose, as is noted.
| Slots | Side Height | Shelves Required |
| 6 | 44 1/2" | 7 |
| 8 | 58 1/2" | 9 |
| 10 | 73" | 11 |
The sides of my rack have 3/4" overhang on the bottom. The above measurements include this amount as well. It will also serve to give you some wiggle room if your cut is off slightly.
If you build a shorter rack, remember you will need two extra filler pieces than the material list allows for to fill the void where you cut off the side pieces.