
This page is an update page to the rat breeding rack plans located here http://www.arbreptiles.com/cages/rat_rack/rat_rack.html
After using the racks I built using the suspended tubs method, I determined that it might be better to support these tubs from underneath as I did with the birthing racks.
Due to the variances of the lip around the tubs in the manufacturing process, replacing a tub in a rack often led to having to adjust the spacing of the runners to maintain a close tolerance to limit chewing on the edges of the tubs.
Apparently very occasionally there is a variance in the width of the tub as well, just enough so that once in a while you'll get one that wants to slip out of it's track if it isn't inserted just so.
Supportintg the tubs from underneath addresses both of these issues. The Overall height of the tub varies little if any so the tubs are easily interchangeable while the differences in the lip height from tub to tub is irrelevant. Likewise, the tubs cannot slip and fall when they are supported from underneath.
So far I am far more please with this method of supporting the tubs and would recommend you use it as well.
The construction of the rack is identical when using this method, and the cut list on the main design page applies completely. In addition you will need the actual support pieced that the tubs will sit on.
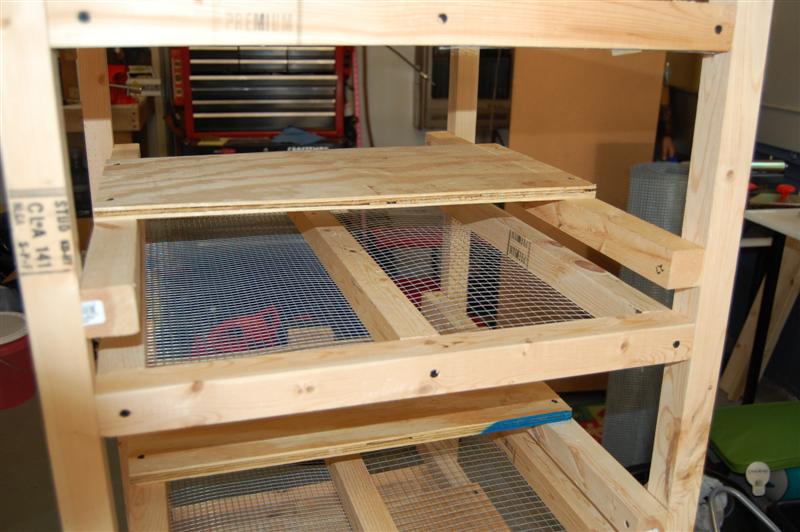
For this rack I used an 11" wide piece of 1/2" plywood to support each tub. I only chose this width because I already had six scrap pieces of that size left over from the construction of a birthing rack. You can use a wider support just as easily, or even use multiple slats under each tub if you have something like that lying around. Basically anything to support the tub adequately, but you shouldn't use a shelf less than 11" wide unless you are using more than one piece under each tub.
Just keep in mind that you may have to alter the placement of the support shelf if the size is something other than 11" wide.
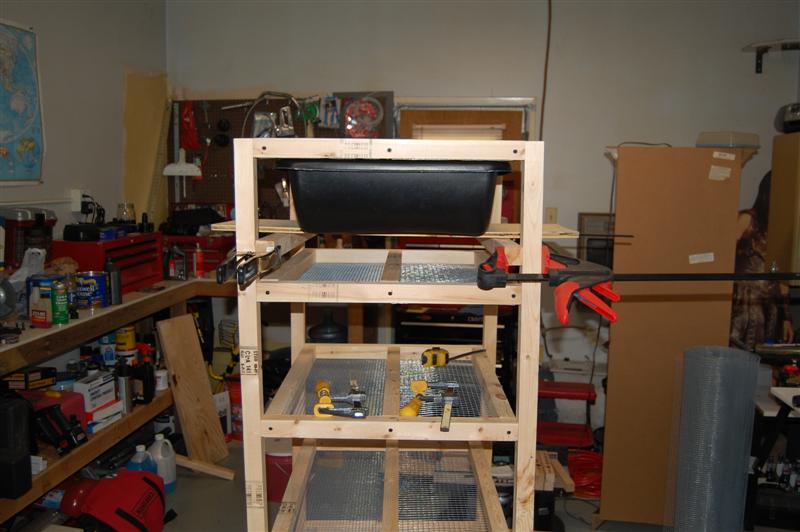
Assemble the rack according to the previous instructions on the main assembly page until you get to the point you are ready to install the runners that hold up the tubs. Those same runners will be places lower and the shelves will be attached to them.
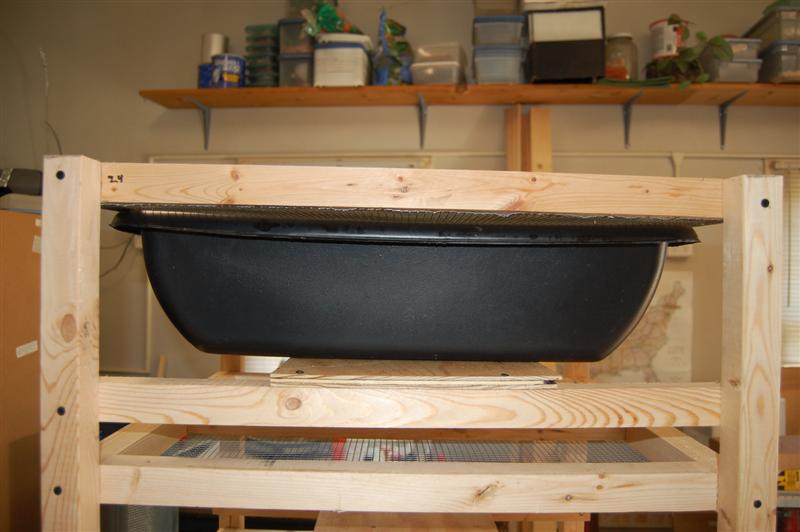
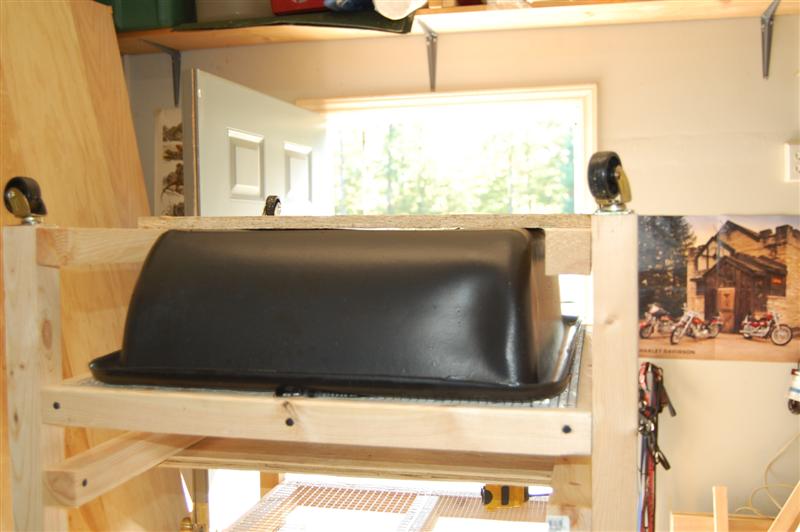
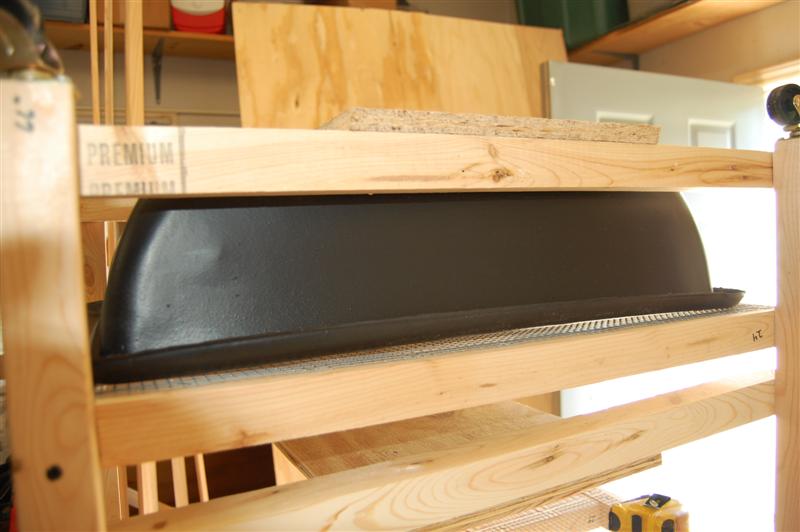
I didn't use any spacers to place the runners, instead I used clamps to hold them in place and a tub to get the proper spacing.
These pictures show how I clamped the runners in place while I determined the proper placement.
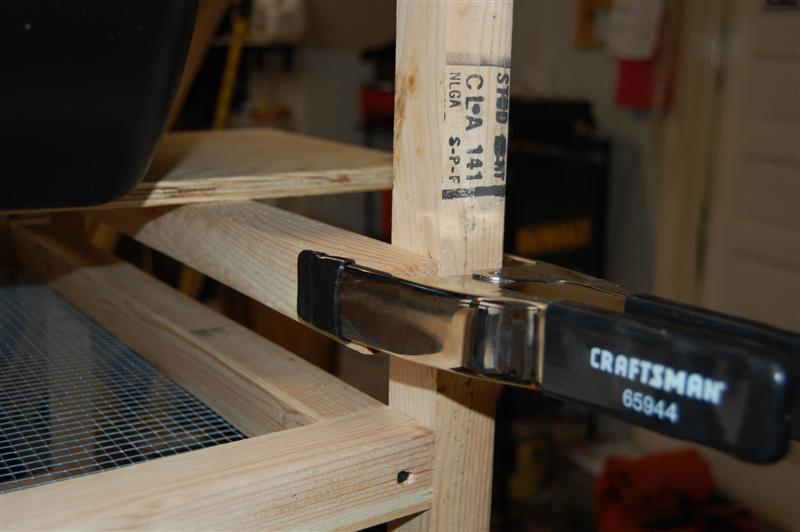
In these photos the support board was longer than necessary, I cut them off to length after getting the spacing right.
The support boards were placed 8 inches from the back of the rack. If you are using support boards that are wider than 11 inches then put a water valve in the screen where it will end up being placed and be sure the tub will drop out before it catches on the valve just as we did with the Birthing Rack.
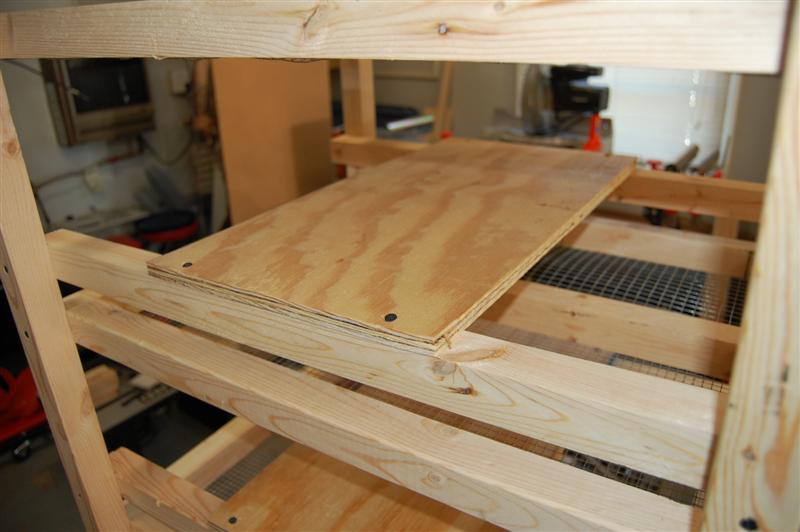

Here is a picture of the tub sitting on the support shelf.
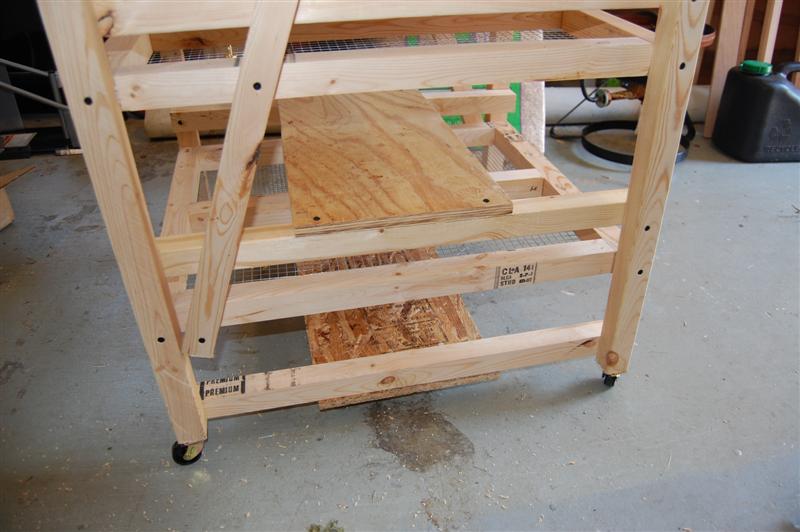
When you get to the bottom level of the rack, the support has to be done differently unless you want to extend the legs of the rack about 6 inches. If you want the legs longer, then install the bottom support just like you did the others, but if you want the legs to be 66 inches as the original plans call for, then the bottom support must be installed inverted.
By this I mean that rather than the shelf resting on top of the runners, it will be atached to the bottom as the following pictures describe.
To install the bottom support, turn the rack upside down and place a tub on the lower screened frame as shown here.
Use your clamps and the bottom support shelf to space the runners so that the shelf is just in contact with the bottom of the tub.
Once you have the bottom support shelf installed flip the rack upright and the bottom level will look like this.
Now just return to the main page for the plans of this rack Here and proceed with plumbing the watering system and you'll have your new rack completed.